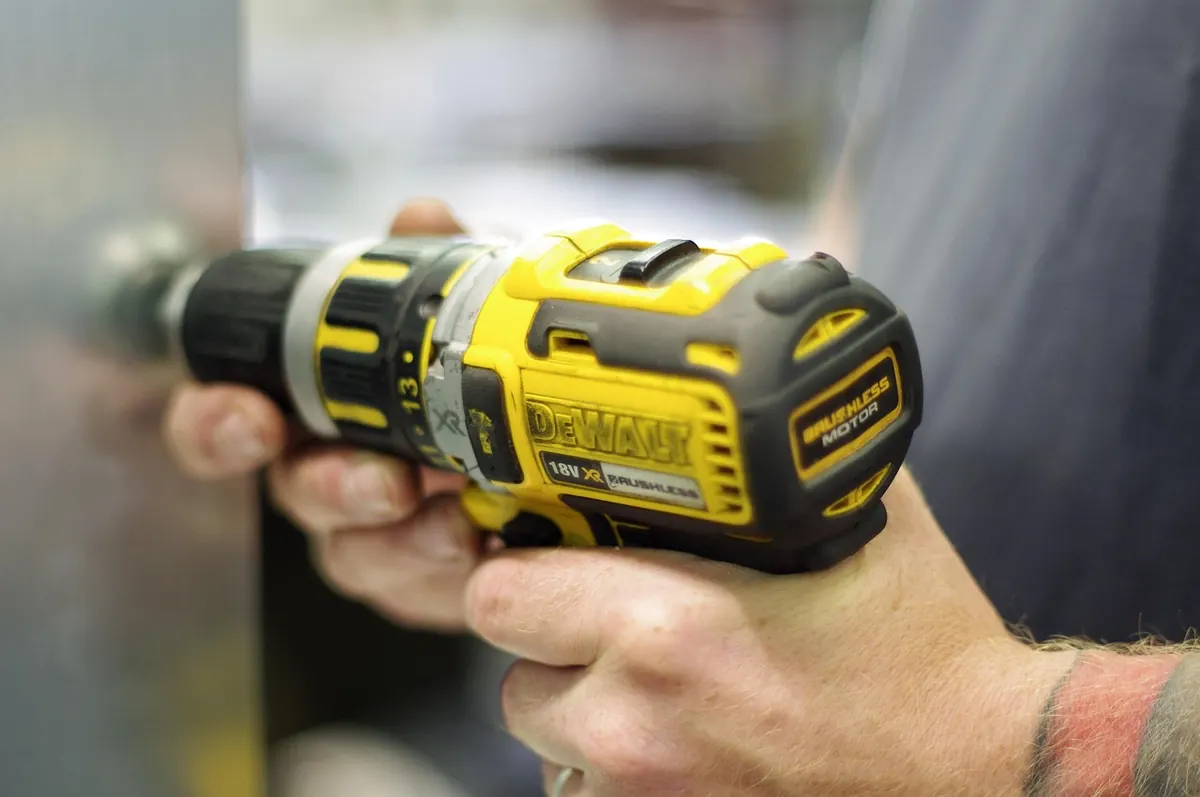
A drill is usually the first power tool anyone buys, and the first one they get wrong. Nothing dramatic happens when it goes badly — you just end up with a hole in the wrong place, a cracked tile, or a screw that spins uselessly in a wall that should have held it.
The good news is that drilling comes down to a handful of decisions: the right bit, the right speed, and the right amount of pressure for the material in front of you. Get those roughly right and even a modest cordless drill will turn in tidy work all over the house.
The controls worth understanding
Most combi drills have the same basic controls, and knowing what each one does saves a lot of frustration. The chuck grips the bit. The trigger controls speed, and the harder you squeeze, the faster it spins. The gear switch gives you two ranges: low gear for turning force, high gear for outright speed.
The torque ring is the one that confuses people. It is a screwdriving control, not a drilling one. Each numbered setting is a clutch that slips once the screw meets a certain resistance, which stops you stripping screw heads and burying them in the timber. If it clicks and the bit stops turning while you are drilling, nothing is broken — you simply need to turn the ring to the drill symbol or the highest number.
Hammer mode is a ratcheting action that chips masonry as the bit turns. It is essential in brick and block, useless in timber, and it will wreck a tile.
Choosing the right drill bit
The bit matters more than the drill. A sharp, correct bit in a cheap drill beats a blunt, wrong bit in an expensive one every time.
- Masonry bits have tungsten carbide tips and cut brick, block, mortar, stone and light concrete.
- HSS twist bits are for metal, plastic and some hardwoods.
- Brad point and wood twist bits give a clean entry in timber and wander far less than a masonry bit would.
- Flat and auger bits cut larger holes for cables and pipework.
- Tile bits are carbide-grit or diamond-coated, and are the only sensible option for ceramic and porcelain.
- SDS-Plus bits fit SDS drills only, but if you drill a lot of masonry, that combination is in a different league.
Sharpness is everything. A blunt masonry bit rubs instead of cutting, generates heat, and glazes its own tip until it stops working altogether. If your bit is smoking and squealing, replace it.
Matching the bit to the wall plug
As a rule of thumb, the drill bit should be the same diameter as the widest part of the plug. Common sizes in the UK run to roughly 5.5–6mm for red plugs, 7mm for brown, and 10mm for blue. Check the pack in your hand, because manufacturers vary. Drilling a hole that is too big is the most common reason a fixing fails.
Speed, pressure and heat
Different materials want different treatment, and the drill's trigger is your main tool for controlling it.
- Brick and block: slow speed, firm steady pressure, hammer on once the bit has bitten.
- Timber: high speed, light pressure, hammer off.
- Metal: slow to medium speed with a drop of oil on the bit, hammer off.
- Tile: very slow, almost no pressure, hammer off.
Let the bit do the cutting. Leaning on the drill makes the bit hot and dull, and heat is what kills masonry bits and cracks tiles. Lift the bit out every few seconds so the flutes can clear dust; a hole packed with powdered brick will not take a plug properly.
Drilling into brick and block
Brick is forgiving as long as you start properly. A bit that skids across the face of a wall scratches the plaster and rarely ends up where you wanted it.
- Check the wall for concealed cables and pipes with a detector before you drill anywhere. Cables often run vertically above sockets and switches, and horizontally between them.
- Mark the hole with a pencil cross, then tap a small dent with a nail and hammer, or use a centre punch. That dent stops the bit wandering.
- Start with the hammer off and the drill on a slow speed until the bit has cut a shallow guide hole.
- Switch the hammer on and apply steady pressure. The drill should sound like it is chipping, not grinding.
- Clear the dust regularly and check the depth by wrapping a strip of masking tape around the bit at the depth you need.
Where you drill matters too. Mortar joints are softer and quicker to get through, but they crumble and hold a plug poorly. For anything with weight hanging off it — shelves, brackets, a mirror — aim for the middle of a solid brick or block.
If you are drilling into very hard engineering brick, or drilling a lot of holes, a corded SDS rotary hammer will save you a great deal of time and effort.
Plasterboard and hollow walls
Plasterboard has almost no holding power of its own, so the fixing does the work, not the plug. Use a sharp bit at low speed with no hammer and light pressure. Push too hard and the paper face blows out around the hole, which looks scruffy and weakens the fixing.
Use fixings made for the job: hollow wall anchors, toggle fixings, or self-drilling plasterboard plugs. Heavy items — a wall cupboard, a boiler, a big mirror — should be screwed into the timber studs behind the board, which you can find with a stud finder or by tapping gently across the wall until the sound changes.
Drilling into tile
Tiles are brittle and unforgiving, so this is the one job where patience genuinely pays.
Stick a square of masking tape over the mark to stop the bit skating. Use a tile bit, hammer off, and the lowest speed your drill will manage. Apply almost no pressure and let the abrasive bit grind its way through. Dip the bit in water or spray it now and again — heat is what cracks tiles.
Once you are through the tile, swap to a masonry bit, switch the hammer back on and continue into the wall behind, keeping clear of the tile's edge. Do not be tempted to drill through the grout line because it looks softer. It often is, but it looks untidy and can crack the neighbouring tiles.
Before you start your first hole
Buy a small set of decent bits rather than a large set of poor ones, and keep a handful of mixed wall plugs in the drawer. Practise on an offcut of timber or in a hidden corner behind a piece of furniture until the drill feels predictable in your hands.
Wear safety glasses, and a dust mask when drilling masonry — fine silica dust is not something to breathe in, so ventilate the room or hold a vacuum nozzle near the hole. Above all, if you are not certain what is inside a wall, stop. A cable detector is inexpensive, and for anything involving gas, water or fixed wiring, it is worth calling a qualified electrician or plumber before the drill goes anywhere near it.
Photo: 16850449 / Pixabay