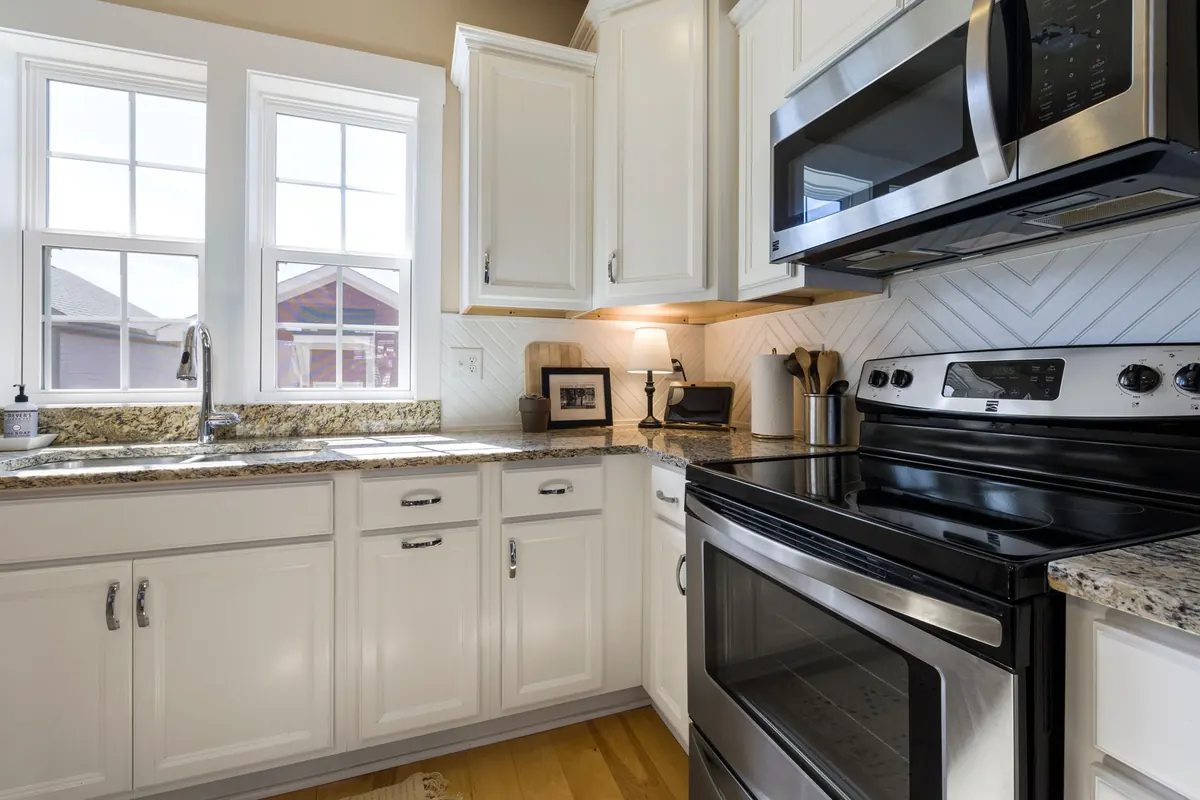
Replacing kitchen cabinet doors costs a small fortune. Painting them costs a weekend, a tin of primer and some patience — and done well, the finish can look close to factory-made and last for years. The catch is that the kitchen is the hardest room in the house to paint properly. Steam, grease, heat and constant handling all attack a finish that hasn't been applied with care. Nearly every failed cabinet paint job comes down to the same three mistakes: grease left on the surface, no key for the paint to grip, and recoating before the previous coat has genuinely dried.
Why cabinets are so unforgiving
Most modern kitchen doors arrive factory-finished with a lacquered, melamine or vinyl wrap surface. It's smooth, slightly shiny and designed to shrug off water and fingerprints — which means it also shrugs off paint. Add a daily film of cooking grease and the occasional blast of steam from the kettle, and you have a surface that will reject a poorly bonded coat within months. The good news is that all of this is manageable. It just has to be done in the right order, and without shortcuts.
Step one: clean like you mean it
This is the step people skip, and it's the one that matters most. Paint will not stick to grease, and kitchen grease is invisible in normal light.
- Wipe every surface with a warm sugar soap solution and a green scouring pad, working in the direction of the grain on any real wood.
- Pay extra attention to the areas around handles, the bottom edge of wall units near the hob, and the tops of doors beneath an extractor.
- Rinse with clean warm water and let everything dry thoroughly.
- On a high-gloss factory finish, wipe over with methylated spirits on a lint-free cloth. This removes any remaining residue and dulls the shine slightly.
For heavy grease, use a dedicated kitchen degreaser and give it the dwell time stated on the bottle before wiping. Then clean again with sugar soap, because degreasers often leave their own residue behind.
Step two: label, remove and repair
Take the doors and drawer fronts off. Screw the hinges back into the cabinet carcass rather than leaving them on the doors — it keeps the screws safe and stops paint bridging the hinge plates. Number each door on a piece of masking tape in a spot that won't be painted, and take a photo of the hinge positions before you remove them. Putting the wrong door back on the wrong carcass is a surprisingly common way to lose an evening.
Fill dents, chipped edges and old screw holes with a two-part wood filler, then sand flush once set. If your cabinets are older and you suspect the paint could contain lead, don't sand it — seal it or get specialist advice first. Bare chipboard edges should be sealed with a coat of primer before filling.
Step three: sand for grip, not for bare wood
You're not trying to strip the doors back. You want to remove the shine and give the primer something to bite into. A 240-grit sanding sponge is ideal for this — fine enough to avoid scratching, coarse enough to cut the gloss. Go over the whole face, the edges and the inside returns of the door frame. Feather any filled repairs until they feel flush under your fingertips.
Then remove the dust. A vacuum with a brush attachment, followed by a tack cloth or a microfibre cloth very slightly dampened with methylated spirits, will do it. Dust left in the grain will show through a satin finish.
Choosing the right primer
Primer is where the durability is decided. There are three types worth knowing about for kitchen cabinets:
Bonding primer
A water-based primer designed for slick, hard-to-stick surfaces such as melamine, laminate and factory-lacquered doors. It dries quickly, sands easily and gives a slightly rough surface that topcoats can grip. This is the default choice for most kitchen refits.
Shellac-based primer
Solvent-based and fast-drying, it blocks knots, tannin stains and old nicotine or greasy marks that would otherwise bleed through. It's excellent over problem areas, but it needs strong ventilation and a decent brush, because it grabs quickly.
Wood primer
For any bare timber — new doors, replacement panels, exposed end grain. Don't use a bonding primer on bare wood and expect a perfect result; the grain will soak it up unevenly.
Always check the manufacturer's safety information and work with the windows open. If you're pregnant, asthmatic or sensitive to solvents, speak to your GP or the product manufacturer before using solvent-based products.
The best UK paint types for a hard-wearing finish
Broadly speaking, you're choosing between water-based and alkyd (oil-based) formulas. Both work; they behave differently.
- Water-based satin or eggshell: the sensible default. Low odour, quick recoat times, easy clean-up, and modern hybrids cure to a genuinely tough finish.
- Alkyd or oil-based eggshell: very hard-wearing and self-levelling, giving a smoother finish with fewer brush marks. It takes far longer to dry, smells strongly, and can yellow slightly over time.
- Chalk and matt furniture paints: lovely on a dresser, less suited to cabinet doors that get wiped daily. They usually need a protective topcoat.
- Specialist cabinet paints: sold specifically for kitchen units, often as a water-based alkyd hybrid. They cost more but are formulated to resist knocks and cleaning.
Look for a product described as suitable for kitchens or bathrooms, and check whether it needs a separate primer or claims to be self-priming. In reality, a dedicated primer under a good topcoat will always outlast a one-coat wonder.
Brushes, rollers and the order of work
Use a small foam or short-nap microfibre roller for flat panels and a quality synthetic brush for edges, mouldings and the recessed centre panels of a shaker door. Roll the flat areas, then immediately lay off with the brush tip to knock out roller stipple.
Paint in a logical order: the inside edges of the face frame first, then the face frame itself, then the doors — starting with the recessed panels and working outwards. Two thin coats always beat one thick one. Thick paint sags, drips and stays soft underneath for weeks.
Drying times and how not to rush them
Timings vary between products, so the tin always wins. As a general guide, water-based cabinet paints are touch-dry in around an hour and can usually be recoated after two to four hours. Alkyd and oil-based paints often need four to six hours before they're touch-dry, and sixteen to twenty-four hours between coats. Full hardness takes considerably longer — often several days to a week.
Temperature and humidity change everything. A cold garage or a damp day can double your drying times. If the surface feels even slightly tacky, or your fingerprint leaves a mark, leave it alone. Sanding lightly between coats with 320-grit, once the coat is properly dry, gives you a much flatter finish and helps the next coat bond.
Don't hang the doors back on the day you finish painting. Wait until the paint has cured enough to feel hard and resist a light fingernail test on a hidden edge.
Reassembling and caring for the finish
Refit the doors and adjust the hinges slowly — the paint will still be soft for a few days and stiff hinges will chip the edges you've just finished. Felt bump stops on the inside of the doors protect the frames from knocks.
For the first fortnight, clean gently with warm soapy water rather than anything abrasive, and avoid slamming doors or dragging items across the front of the units. Once cured, the finish will stand up to normal kitchen life for years — and if a door does get damaged, you still have the tin.
Photo: Curtis Adams / Pexels