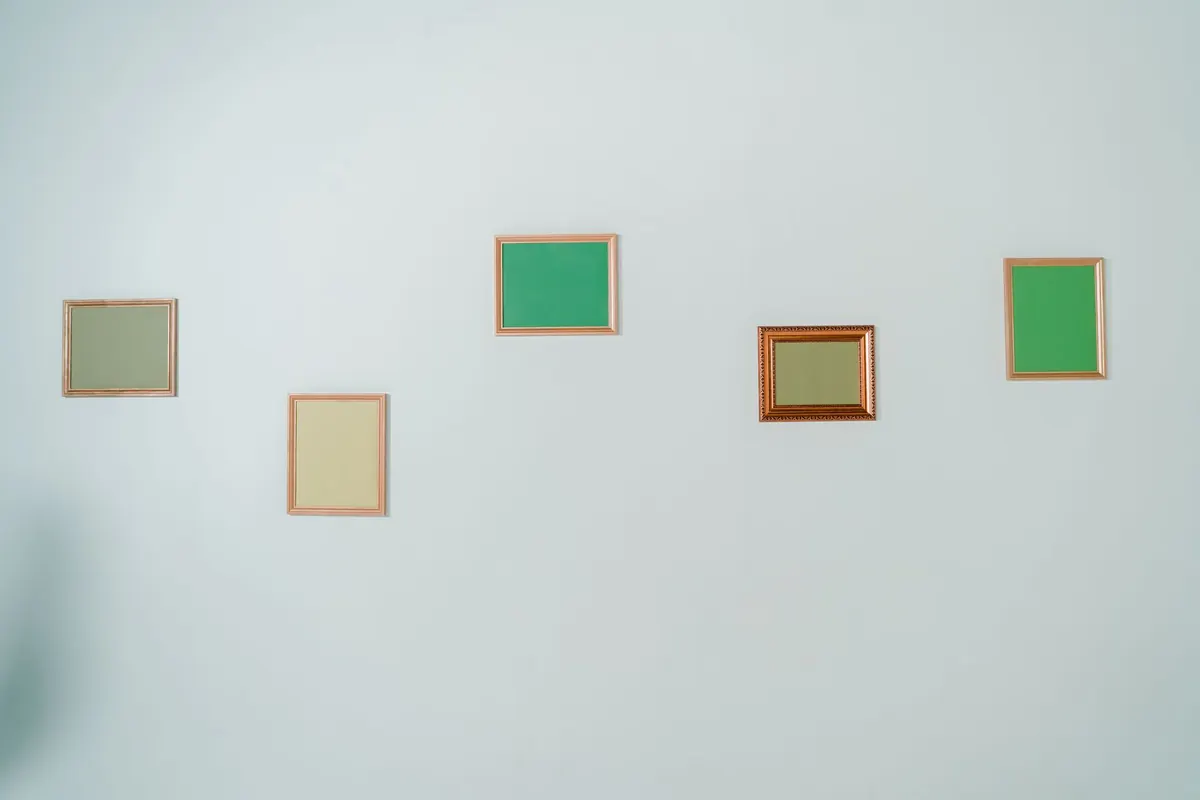
Most picture hanging goes wrong in the same handful of ways. A nail tapped in at a guess, a frame sitting too high, a group that drifts out of line within a week, and a wall left with more holes than a colander. None of it is hard to avoid. The method is simple: decide the height first, work out the spacing on paper, match the fixing to what is actually behind the plaster, then drill once. Do that and frames stay level, walls stay tidy, and moving things around later does not mean starting from scratch.
Start With the Height, Not the Nail
The centre of a picture usually sits around 145 to 150 centimetres from the floor in a room where people stand and walk. That figure matches most adult eye lines, which is why it turns up in galleries and homes alike. It is a sensible starting point, not a rule.
In a dining room, above a sofa or over a bed, people are sitting, so drop the centre to roughly 120 to 135 centimetres. In a hallway or stairwell, where the picture is viewed from further away and often from below, lift it to 160 to 170 centimetres.
Whichever height you choose, keep it consistent within a room. A row of frames along a corridor looks considered when every centre line matches, and chaotic when they wander by five centimetres. If a piece hangs above furniture, leave 15 to 25 centimetres of bare wall between the top of the sofa or sideboard and the bottom edge of the frame. Any less and the frame crowds the furniture; any more and it floats.
Spacing a Group of Frames
Gaps of 5 to 8 centimetres read well between medium-sized frames. Small frames look better closer, around 3 to 5 centimetres, while anything wider than about 70 centimetres can take 10 centimetres without feeling cramped. Resist the urge to space everything identically if the frames are different sizes; consistent gaps matter more than consistent frames.
Lay the whole arrangement out on the floor before you touch the wall. Shuffle it until the outer edges form a tidy rectangle and the heaviest pieces sit towards the middle. If the group hangs above a sofa or console, aim for a total width of roughly two-thirds of the furniture below it. Any wider and it dominates the room; much narrower and it looks lost.
Plan the wall on the floor and you will only drill once.
Match the Fixing to the Wall
This is where most damage happens. A picture hook designed for plasterboard will pull straight out of brick, and a masonry plug will crumble a hollow wall. Work out what you are drilling into before you buy anything.
- Plasterboard on a frame: use a cavity fixing with wings or a collared plug. These spread the load behind the board rather than crushing it.
- Solid masonry or brick: drill a hole, insert a wall plug matched to the screw, and screw in. A masonry drill bit is essential.
- Timber studs: find them with a detector and screw directly into the stud for anything heavier than a small frame.
- Lath and plaster: common in older British homes and often crumbly. A cavity fixing can work, but screwing into a stud is far more reliable.
- Light pieces: a single hardened steel pin or a rated picture hook is plenty, provided you respect the safe working load printed on the packet.
Before drilling anywhere, run a cable detector over the spot. Cables typically run vertically above sockets and switches, and horizontally between them, and pipes often hide below radiators. If you are unsure what is behind the plaster, or you need to hang something genuinely heavy on an unfamiliar wall, bring in a qualified tradesperson rather than guessing.
Mark Once, Drill Once
Cut a paper template the same size as the frame, tape it to the wall, and mark the hook positions on it. Check it with a spirit level, step back, and check again from a chair across the room. It is far easier to move paper than to fill holes.
Then drill pilot holes slightly narrower than your screws. Wrap a strip of masking tape around the drill bit to mark the depth you need, which stops you going through the board. Hold a vacuum nozzle or a folded piece of paper under the drill to catch the dust, and fill any redundant holes with a little interior filler before painting over them.
Why Frames Slide Out of Level
A frame hung on a single central hook will always find a way to tilt. It pivots on the hook, and picture wire stretches and settles unevenly. The fix is two fixing points rather than one: two hooks set level, or a French cleat for wide or heavy pieces. Two D-rings positioned at the same height on the back of the frame, matching two hooks on the wall, hold everything square.
Small self-adhesive bumpers on the bottom corners make a real difference too. They keep the frame parallel to the wall, stop it rocking when a door slams, and let air circulate behind the picture. If a frame still tilts after a month, it is usually the wire stretching, so tighten it or replace it with a straight bar fixing.
Heavy Mirrors and Large Glazed Frames
Weight changes the job. Once a piece is much beyond a few kilograms, especially with glass, a single hook is not enough. Spread the load across two or more fixings, screw into studs where possible, and use fixings rated comfortably above the weight of the item. Hang large pieces so the bottom edge rests against the wall without pressure, and keep them away from radiators and direct sunlight, which dries out frames and fades prints.
The Five-Minute Check Before You Drill
- Confirm the centre height and mark it lightly in pencil.
- Lay the group out on the floor and settle the spacing.
- Check the wall type and choose fixings rated for the weight.
- Scan for cables and pipes.
- Make a paper template, level it, and mark the hook points.
- Drill pilot holes, fit the fixings, and hang.
- Check the level, add bumpers, and admire it from the doorway.
Ten minutes of planning saves a wall full of filler and a frame that never quite sits straight.
Photo: cottonbro studio / Pexels